July 26, 2023
New from SoftSmile: 3 New Features Added to Vision

SoftSmile, a technology company focused on delivering best-in-class orthodontic treatment to the industry, is excited to announce the addition of three new features – fillers, printed treatment plans, and movements/separate movements – to its treatment planning software, VISION. These new features help to improve and streamline the overall user and patient experience and have been developed as a result of feedback from current SoftSmile clients.
Fillers
Why is this feature necessary and important? How does it help the user?
Fillers contribute to the structural integrity of the aligner and enhance the aesthetics of the smile. Gaps, whether small or located at the base of the teeth, can lead to various oral health problems like gum disease, shifting teeth, and even speech difficulties. Gaps can also affect a patient’s confidence and smile aesthetics.
The fillers feature allows dentists and orthodontists to visualize and plan the placement of fillers with precision. Whether it's a pair of teeth or the entire jaw, this feature assists in mapping out the best way to close those gaps.
Why and how did we build this feature?
We built the fillers feature in VISION to meet the need of dental health professionals for a tool that can accurately and efficiently help them plan dental filling procedures. Traditional methods often involve a lot of guesswork and estimations, which can lead to less-than-optimal results.
With the fillers feature, we utilized advanced digital imaging and modeling technologies. Users can choose specific teeth or select the entire gum for a comprehensive treatment plan. It's all accessible through an intuitive context menu, simplifying the overall process.
How does the feature work?
The fillers feature offers maximum flexibility and ease of use. Users can choose to place fillers between a specific pair of teeth or across the entire jaw. The software generates visual representations of how the fillers will look post-procedure, allowing both the doctor and patient to have a clear understanding of the expected outcome.
Moreover, users have the option to add the fillers to the current aligner only, or to all. This gives user the ability to create a highly personalized treatment plan, tailored to each patient's unique needs. The feature brings together the needs of dental professionals, manufacturers, and patients to improve outcomes and overall satisfaction.
Printed Treatment Plan
Why is this feature necessary and important? How does it help the user?
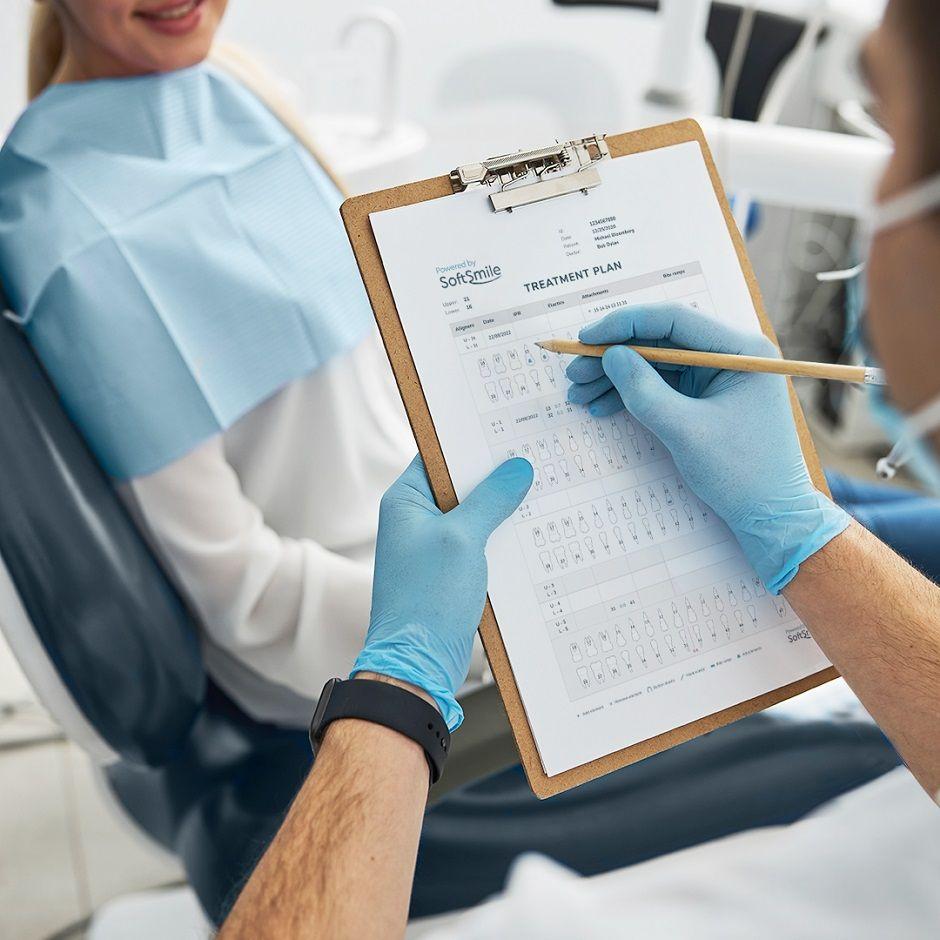
The printed treatment plan (PTP) feature is an essential component of VISION designed primarily for the convenience of dental professionals. This feature allows dental practitioners to seamlessly translate digital instructions into physical documents that are easy to comprehend and contain precise steps required for each patient's treatment at any given appointment. This feature is particularly helpful for complex orthodontic treatments involving multiple aligners, IPRs, and other elements.
Why and how did we build this feature?
We built the PTP feature to streamline the workflow of dental professionals. Often, toggling between digital instructions and the actual procedure can be inefficient. Also, remembering intricate digital instructions for every patient can be challenging.
We leveraged modern printing technologies to create a feature that provides a physical representation of the treatment plan to address these challenges. We consulted with dental professionals and incorporated their feedback to ensure the printed treatment plan is intuitive, detailed, and valuable in facilitating seamless treatment processes.
How does the feature work?
When a treatment plan has been finalized in the software, the user can execute the export command in VISION to generate a PTP.
The PTP includes important information such as the case ID, patient's name, doctor's name, and the date of creation. This enables easy identification and correlation with the appropriate patient and provider.
In addition to the basic identifying information, the PTP includes essential treatment-specific details and graphical representation about elastics, attachments, bite ramps, and interproximal reduction (IPR). This makes it easier for dental professionals to comprehend the planned treatment and perform their duties effectively.
The PTP also incorporates a legend. The legend lists the different types of element icons used in the images, clarifying what each symbolizes. The PTP serves as an easily understood, comprehensive guide to the proposed treatment, providing a practical tool for dental professionals to execute their tasks efficiently and accurately.
Movements/Separate Movements
Why is this feature necessary and important? How does it help the user?
The 'Movement/Separate Types of Movements' feature is significant because of the level of control it offers the user. By giving users the ability to immediately set the trajectory of an object, including sequencing different types of movements like rotation, angulation, etc., it provides a greater degree of precision and versatility in movement management.
Why and how did we build this feature?
We built this feature in response to user feedback and as part of our ongoing commitment to improving usability and providing tools that cater to our user's specific needs. We recognized that our users required more detailed control over the trajectory of their objects and created this feature to enable individual specification of movement types in a sequence.
The development process involved several stages, including designing a user-friendly interface for setting up the movement sequence, and implementing the underlying algorithm that handles these sequences effectively. Through multiple iterations and rigorous testing, we were able to create a feature that is powerful and easy to use.
How does the feature work?
When the user wishes to plan a movement for a tooth (or any other object), they can initiate the process by manually adjusting the tooth to its intended position in the software's 3D interface.
Once the user is satisfied with the new position, they click on the tooth. A context menu will appear, and the user will select the "Add Movement" option. This action essentially creates a new keyframe or waypoint in the movement sequence, recording the current position of the tooth.
From this point forward, the tooth will begin any subsequent movements from this recorded position. The user can then make additional adjustments to the tooth's position and continue to add more movements as needed. Each time the user selects "Add Movement" from the context menu, the software records the current position and adds it to the sequence of movements.
Learn more about VISION here and schedule a demo here.


