


|
Aspect |
Conventional Workflow |
Digital Workflow |
|
Data capture |
Alginate impressions, plaster models |
Intraoral scan, STL files |
|
Steps involved |
Impression, pour, ship, remake if distorted |
Scan, upload, plan directly from file |
|
Turnaround time |
Days, plus shipping to a lab |
Same-day to a few days |
|
Data continuity |
Breaks at each physical hand-off |
Same file carried through planning and production |
|
Communication |
Phone calls, physical model review |
Shared 3D view, case notes attached to the file |
|
Reproducibility |
Model can distort or be lost |
File can be reopened and restaged exactly |
How to Build an End-to-End Orthodontic Digital Workflow: From Scan to Finished Treatment Plan
Tech and Innovations
August 17, 2026
How to Build an End-to-End Orthodontic Digital Workflow: From Scan to Finished Treatment Plan
A step-by-step guide to building an end-to-end orthodontic digital workflow—from the first scan to a finished, doctor-approved treatment plan. Learn how to connect scanning, diagnosis, AI-assisted staging, and production into one continuous chain.

SoftSmile Team
Editorial Team

An orthodontic digital workflow connects every step of a case, from the first scan to the finished treatment plan, into one continuous data chain instead of a set of separate tools. Practices building an orthodontic digital workflow software stack in 2026 are usually trying to solve the same problem: a scanner from one vendor, a planning tool from another, and a lab that receives files instead of a connected case. This guide is for orthodontists, clinic owners, and labs putting that chain together, or fixing the gaps in one they already have.
This guide walks through the full workflow, step by step:
-
Initial consultation and case assessment
-
Diagnostic data collection (records, photos, X-rays)
-
Digital scanning and CBCT integration
-
Diagnosis and case evaluation
-
Digital treatment planning and staging
-
Doctor review and plan approval
-
Aligner production or fixed-appliance treatment
-
Delivery and treatment monitoring
Each step below covers the tools, the hand-offs, and where the process most often breaks, so you can close the gaps in your own practice.
What Is an Orthodontic Digital Workflow (and Why It Matters in 2026)
A digital orthodontic workflow is the sequence that carries a case from intake to a finished, doctor-approved plan, using digital data instead of physical models at every hand-off. Buying a scanner is one part of that. The process only exists once the scan, the diagnosis, the plan, and the production step are connected, so a file created in step one is still usable, without re-entry or reformatting, in step six.
That continuity is the part that gets skipped most often. A practice can own an intraoral scanner, a CBCT unit, and a planning tool, and still run a broken process, if a scan has to be exported, converted, and re-uploaded before the planning software can read it. Each of those manual hand-offs is a place where a file gets lost, a case gets delayed, or a technician re-enters data that already existed somewhere else.
A 2021 review in Dentomaxillofacial Radiology (Shujaat et al.) looked at how imaging modalities, including intraoral scans, CBCT, and facial photographs, get combined into a single digital record, and pointed to the same limitation clinics run into in practice: combining different imaging sources into one workflow still runs into real technical and practical limits, even as the underlying tools keep improving. In other words, owning the right hardware does not guarantee the data moves cleanly between steps.
The message worth repeating here: going digital speeds up and standardizes the process, but it does not move the clinical decision. Segmentation, staging, and even a first-pass plan can be produced faster with software. Whether that plan is right for the patient in front of you stays a judgment call made by a person, not a system. That distinction runs through every step below, and it's the one thing worth checking before adopting any new tool in the chain.

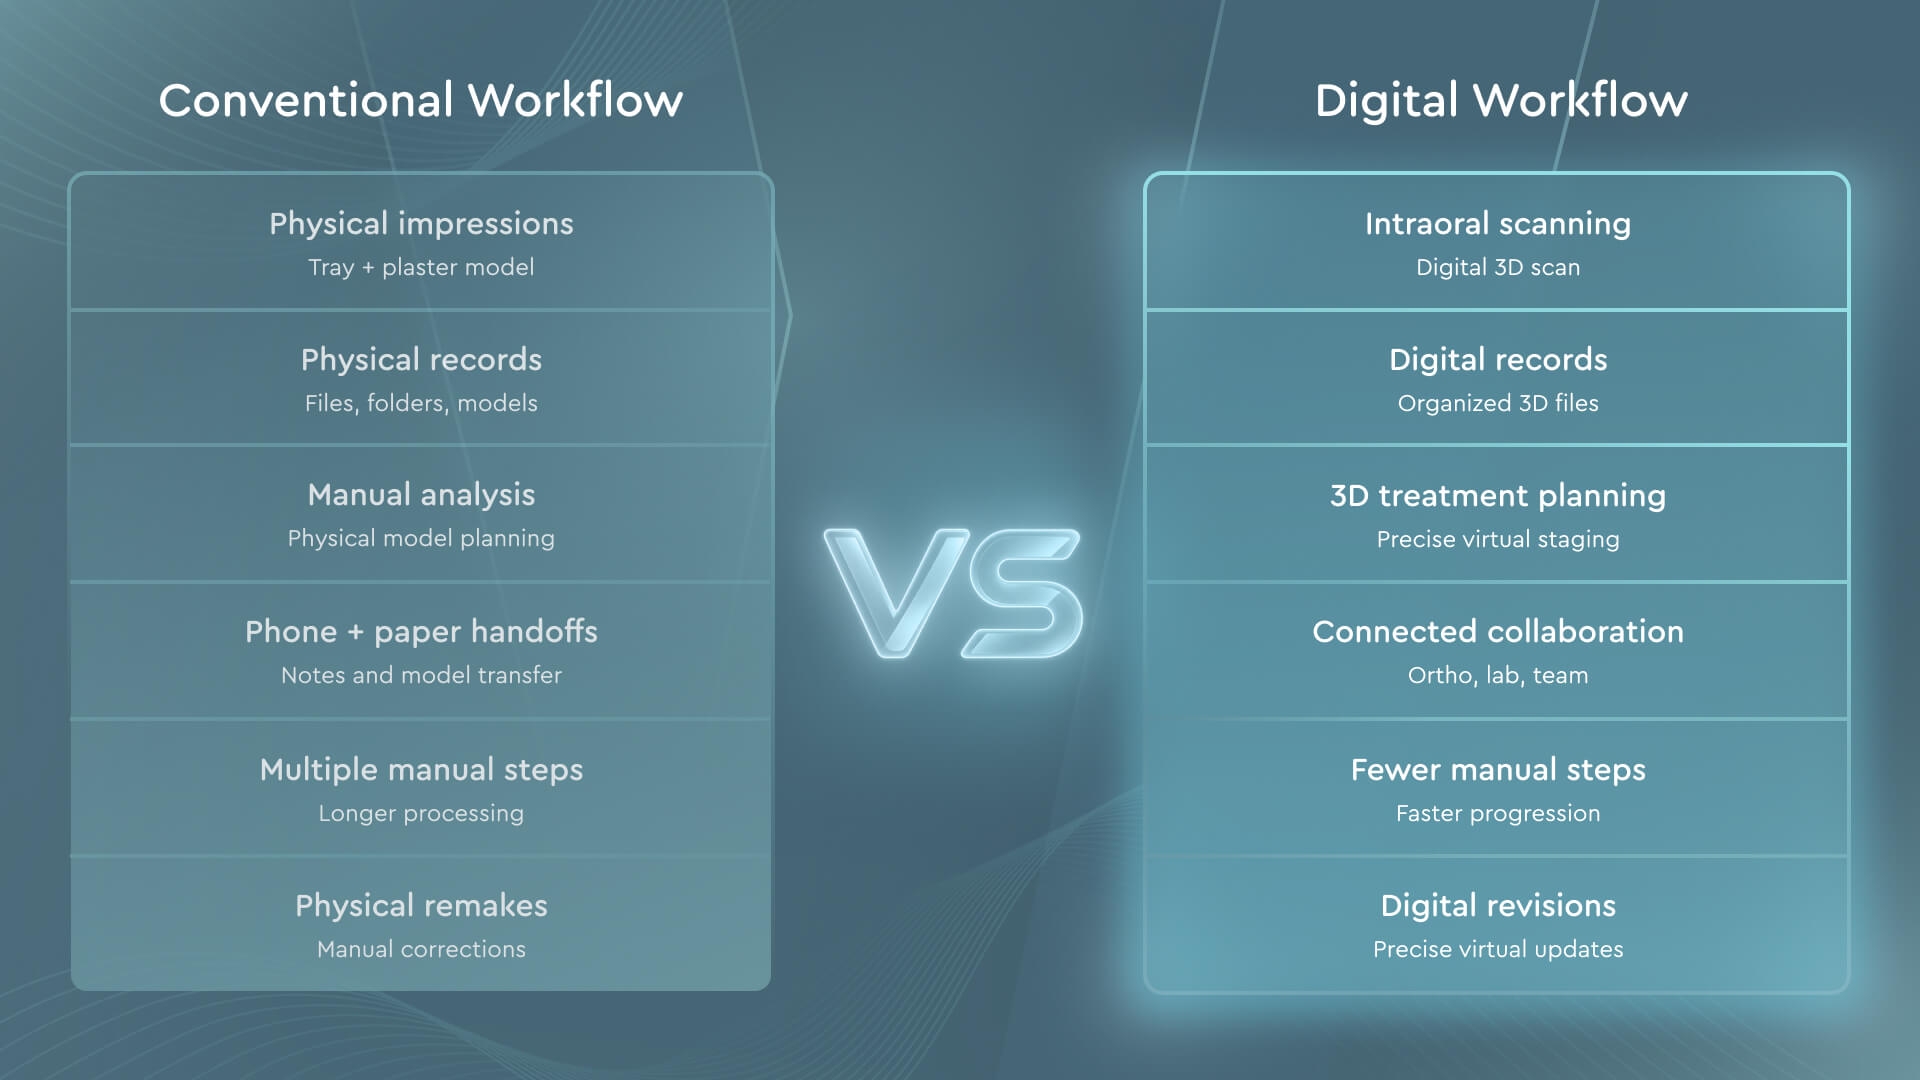
Digital vs Conventional Orthodontic Workflow
Going digital is not an all-or-nothing decision. Many practices run a hybrid process for a period, digital scanning with a lab that still wants a physical model for one part of a case, for example, before moving fully digital once the data connections are in place. The table below lays out where the two approaches actually differ, aspect by aspect, rather than treating "digital" as a single feature to switch on.
None of this means every hybrid setup is a compromise. A practice that scans digitally but still ships to a lab that produces physical retainers, for instance, gets most of the time and reproducibility gains while keeping a manufacturing relationship it trusts. What matters is whether the file, not just the intent, actually moves cleanly between the two halves of the process.
The 8-Step Route: How to Read This Guide
Each step below moves the case from where your practice already is toward a process you can run predictably, case after case, rather than one that depends on a specific technician remembering the right sequence. Every step produces its own artifact, a scan file, a diagnostic record, a staged plan, a manufactured appliance, and its own point of doctor control. Skipping the artifact or the control point at any step is usually where a workflow breaks down later, often not visibly until a refinement or a delivery date slips.
Step 1 — Initial Consultation and Case Assessment
The workflow starts before any scan. At consultation, the doctor records the chief complaint, the malocclusion type, and patient expectations, and makes a first judgment on whether the case is a fit for clear aligners, fixed appliances, or a combination. This assessment becomes the reference point for every later step: the staged plan produced in step 5 is checked against what was agreed here, not the other way around.
What gets recorded at this stage, patient history, prior orthodontic or restorative work, and any red flags like periodontal concern, feeds directly into the diagnostic data collected next. A consultation note that stays vague here tends to resurface as a disagreement later, usually at step 6, when the doctor is reviewing a staged plan against expectations that were never clearly written down.
Step 2 — Diagnostic Data Collection
Before scanning, the practice gathers the supporting record: clinical photographs, radiographs, and a full patient history. A 2016 study in the American Journal of Orthodontics and Dentofacial Orthopedics (Burhardt et al.) comparing conventional and digital impressions in young patients found more reported queasiness and discomfort with alginate impressions than with intraoral scanning, with a preference for the scanner overall, though comfort varied somewhat by device.
Photo management matters more than it looks at this stage. The ability to zoom, rotate, and overlay clinical photos against the 3D scan later, rather than flipping between separate systems, is what keeps the case record usable once it reaches the planning step. A record split across a camera roll, a separate imaging system, and a paper chart works fine at intake; it becomes a bottleneck the first time someone needs to check a photo against a staged plan months into treatment.
Step 3 — Digital Scanning and CBCT Integration
Intraoral scanning replaces the physical impression: a wand captures the arch directly and exports it as an STL file, typically in a few minutes per arch, without the tray, the material, or the wait. For cases involving impacted teeth, root proximity, or a planned extraction decision, a CBCT scan is added and aligned with the surface scan, so the doctor can see bone and root position alongside the crown surface in one model.
Scanner compatibility is a practical constraint here, not a minor detail. A platform like VISION accepts scan and CBCT data from most major intraoral scanners, including Medit, without a manual reformatting step, which is what keeps step 3 connected to step 4 instead of creating a file the next tool cannot read. Practices running mixed scanner fleets across multiple offices, common in a DSO setting, tend to feel this constraint first: a workflow that only reads one scanner's native format forces a conversion step at every location that uses a different one.
Step 4 — Diagnosis and Case Evaluation
With the scan and CBCT data in hand, the doctor evaluates the case against the plan agreed at consultation: arch length, crowding, bite relationship, and any changes since the initial assessment. Automated tooth segmentation, separating each tooth from the gingiva on the 3D model, speeds up this step considerably compared with manual outlining.
That automation still gets checked. The doctor validates the segmentation before it feeds into treatment planning, correcting margins where crowding or a restoration made the automatic read unreliable. Clinical control does not pause here just because a machine did the first pass. This is also the point where a case gets flagged, or not, for a treatment modality other than aligners; not every malocclusion the workflow captures digitally is a good fit for a fully digital treatment path.
Step 5 — Digital Treatment Planning and Staging
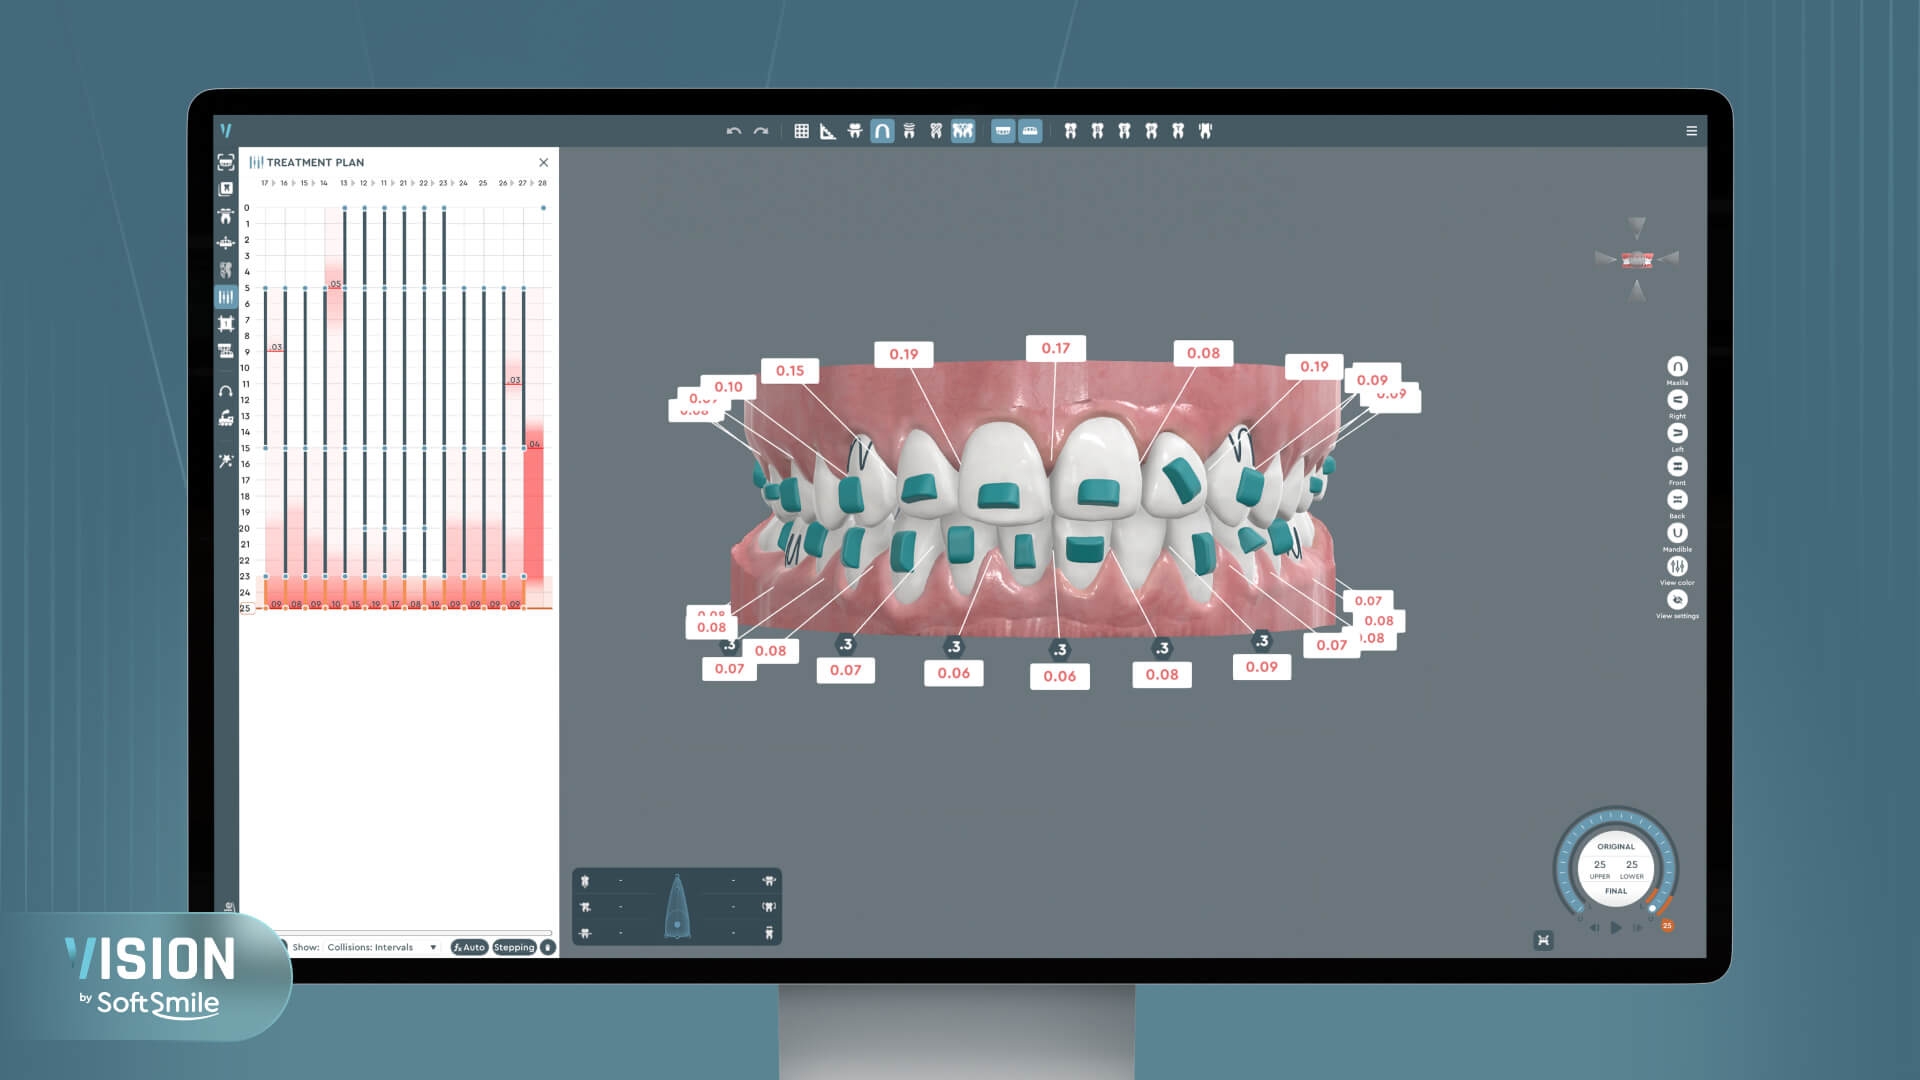
This is the core of the workflow. The software builds a target arch form and final tooth positions, then breaks the movement from starting position to target into a staged sequence, biomechanically grouped so that compatible movements happen together and root parallelism is maintained through the sequence.
Attachments, IPR, elastics, and bite ramps are placed within this same step, each tied to the specific movement it needs to support, not applied by default across the case. The result is a full 3D visualization, viewable from any angle, of what treatment looks like stage by stage before anything is manufactured.
According to SoftSmile, cases planned with AI-assisted staging in VISION can be built up to 95% faster than a fully manual setup. That figure is SoftSmile's own reported benchmark from its case data, not an industry-wide standard, and it applies to the automated first pass, not the doctor's review that follows.
Software used for this step qualifies as medical device software in most markets and typically requires regulatory clearance, such as FDA 510(k) in the United States, before clinical use.
Step 6 — Doctor Review and Plan Approval
Every staged plan returns to the doctor before it moves toward production. This doctor-facing review, DFA in workflow terms, is where the plan gets checked stage by stage against clinical judgment, root position, periodontal status, and whether the sequence still matches what was agreed with the patient.
A shared WebViewer lets the doctor, and where relevant a second clinician or the lab, review and discuss the plan from any device, without needing the same software installed locally. This is also where the brand's core message applies directly: a plan does not reach manufacturing without the doctor's approval, and approval can be stage-specific, not just a single yes or no on the whole case. For a doctor worried about losing control to automation, this is the actual control point, not a marketing line.
Step 7 — Aligner Production or Fixed-Appliance Treatment
Once approved, the plan becomes a physical appliance. For clear aligner cases, that means exporting the staged files for manufacturing, in-house on a practice's own printers, through a partner lab, or via a print provider, depending on how the practice is set up. Thermoforming remains the standard step between a printed model and a wearable tray, though direct 3D printing of aligners is expanding in some workflows.
|
Production route |
What it involves |
|
In-house |
Practice owns printing and thermoforming equipment; fastest turnaround |
|
Partner lab |
Files sent to an external orthodontic lab for manufacturing |
|
Print provider |
Staged files sent to a third-party printing service |
The doctor chooses the production route based on caseload and equipment, not the planning software. A high-volume practice with its own printers gets speed from in-house production; a lower-volume practice often gets better economics from a partner lab, since it avoids carrying equipment and materials it uses inconsistently. Refinements, a revised plan for a subset of remaining movements, run back through steps 4 through 6 rather than starting the case over.
Step 8 — Delivery and Treatment Monitoring
Delivery starts treatment: the patient receives the first trays or the fixed appliance is placed, and the practice moves into progress monitoring. Case management tools track which stage the patient is on, flag when a scheduled check is due, and keep a version history of the plan if a refinement changes the sequence partway through.
A portal that keeps the current plan, prior versions, and progress scans in one place is what makes step 8 connect back to step 5 instead of becoming a separate, disconnected phase of treatment. Without that link, a refinement effectively restarts the workflow instead of adjusting it, and the team loses the ability to compare where the patient actually is against what stage 12 of 24, for example, was supposed to look like.
This step is also where compliance issues surface. A patient behind on wear time shows up as a mismatch between the scanned progress and the expected stage, which is a clearer signal to act on than a subjective sense that "things look a little off" at a routine check.
How to Choose Orthodontic Digital Workflow Software
Selecting orthodontic digital workflow software comes down to a short set of practical questions, not a feature list.
-
Data continuity. Does a file created at scanning stay usable through planning and production without reformatting?
-
Scanner compatibility. Does it accept your existing intraoral scanner and CBCT unit directly?
-
Degree of clinical control. Can the doctor edit individual stages, or only approve a finished plan?
-
Pricing. Per case, subscription, or both, and how does cost track with actual caseload?
-
Production support. Does it support in-house, lab, or print-provider manufacturing, or lock you into one route?
-
Updates. How often does the platform update its segmentation and staging automation, and does that change require retraining the team?
Most of these questions come down to one thing: whether the platform is built as a connected digital orthodontic workflow, scan through production, or as a planning tool that happens to accept files from elsewhere. The second kind still works, but it puts the burden of continuity back on your team.
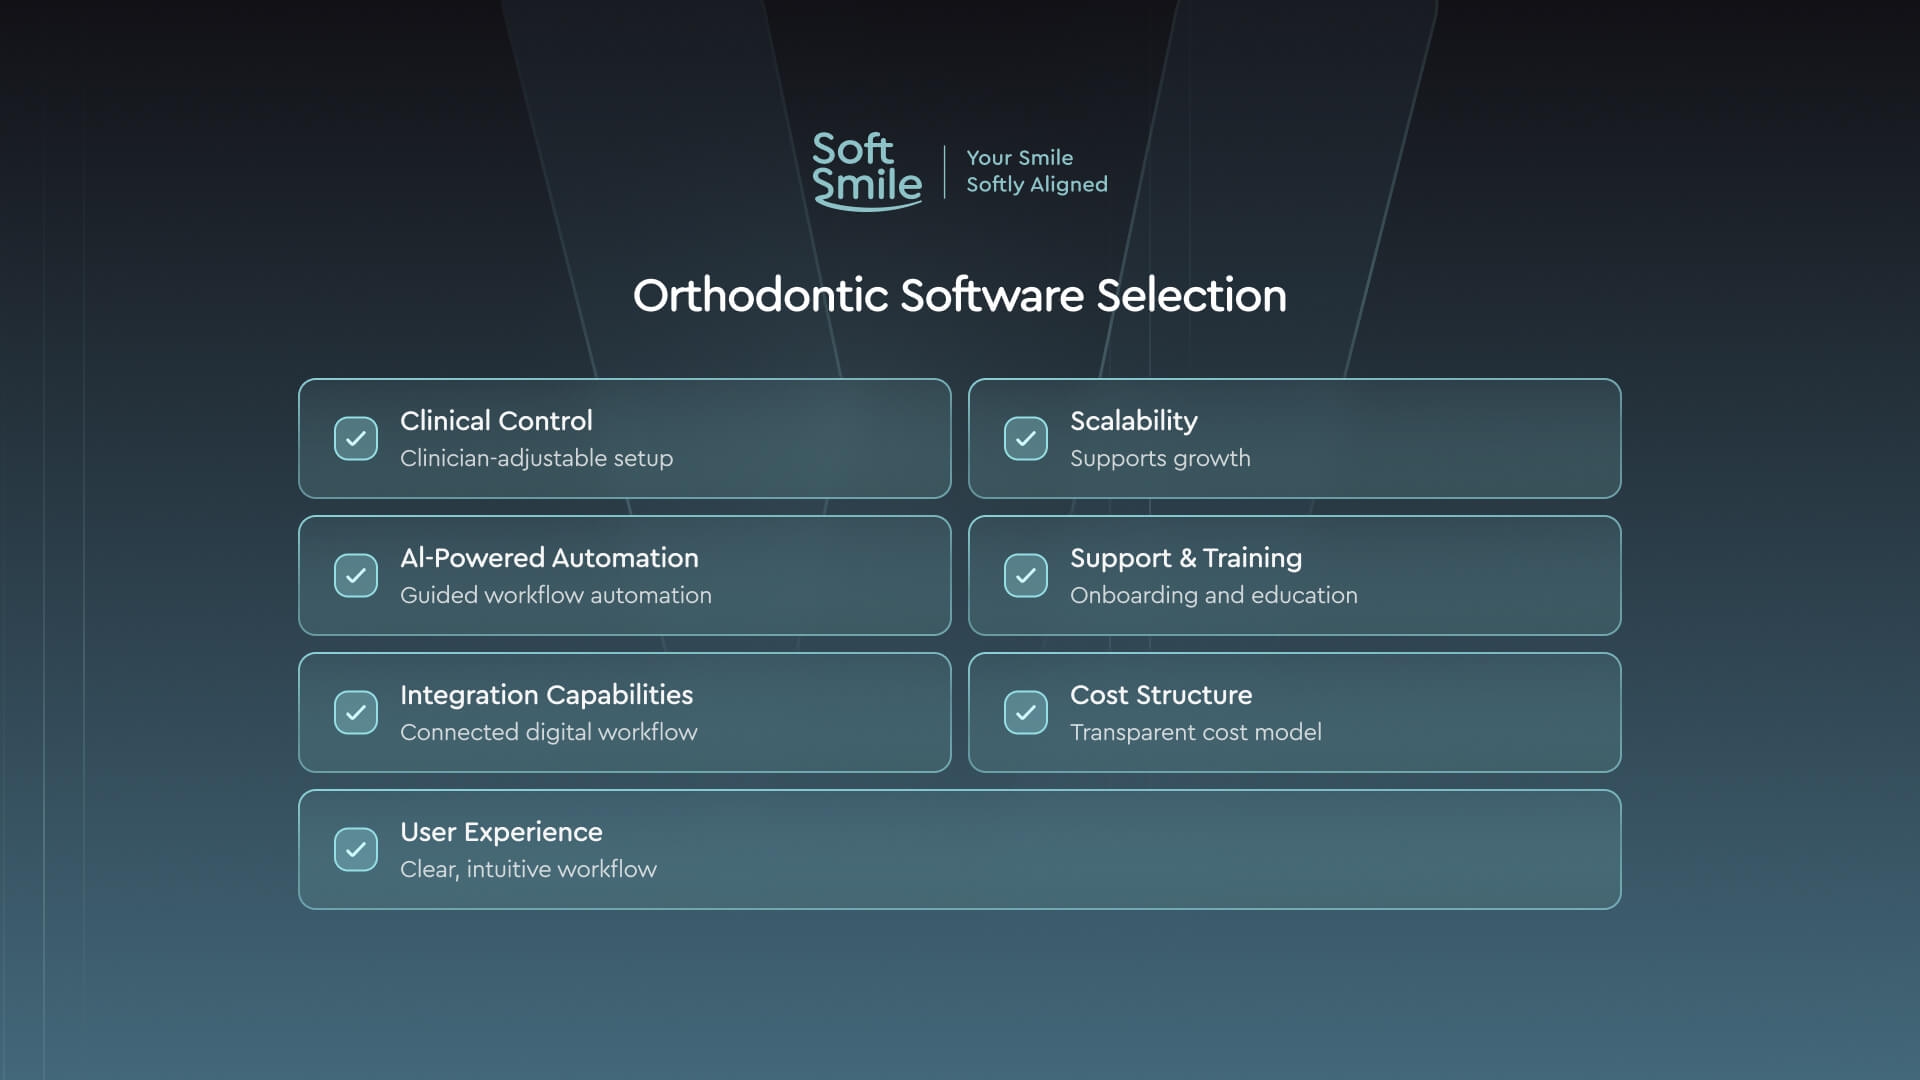
VISION, SoftSmile's digital orthodontic workflow platform, is built around this same list: it connects scanning, CBCT data, AI-assisted staging, and production into one chain, while keeping every stage editable and every case subject to doctor approval before it ships.
Conclusion — Building a Workflow You Control
An orthodontic digital workflow is worth building for the continuity, not just the individual tools. A scanner alone does not save the time a connected chain does; the gains come from a file that moves from scan to plan to production without being re-entered, reformatted, or re-checked at every hand-off, while the doctor still signs off on every stage that matters clinically.
The practices that get the most out of this shift are usually the ones that treat it as connecting a chain, not upgrading one link in it. A faster scanner on its own saves a few minutes at intake. A connected process, where that scan reaches diagnosis, planning, doctor review, and production without a manual hand-off in between, is what actually changes how many cases a practice can run predictably in a week.
If you want to see how this chain runs end to end on one of your own cases, request a VISION demo and export a first plan to review.
FAQ
What is an orthodontic digital workflow?
It is the connected sequence that carries a case from consultation and scanning through diagnosis, digital treatment planning, doctor approval, and production, using the same digital data at every step.
What equipment do I need to start?
An intraoral scanner is the minimum starting point. A CBCT unit is not required for every case but is common for practices handling impacted teeth, surgical cases, or complex diagnostics.
Does going digital replace the orthodontic lab?
Not necessarily. Many practices keep a lab relationship for manufacturing while running scanning and planning digitally in-house; the workflow supports in-house, lab, or print-provider production.
How does software speed up treatment planning?
Automated segmentation and a first staging pass reduce the manual setup work before a doctor reviews the case, which is where most of the time savings come from.
Can I keep clinical control with AI-assisted planning?
Yes, in a doctor-controlled workflow. Automation handles the first pass on segmentation and staging; the doctor reviews and approves the plan, stage by stage if needed, before it moves to production.
Is a digital workflow worth it for a solo practice?
It depends on caseload and how much time is currently lost to manual setup or lab back-and-forth. Per-case pricing models make the switch viable without committing to a large subscription upfront.


Sign up for our newsletter!
Case Studies, Podcasts, Ebooks, Events, Webinars, Company news, and more...
By subscribing you agree to the Terms of Use and Privacy Policy.


